Tuesday, November 26, 2013

Obelisk - Phase 1.5 (Software)

Operating System....................DONE
Remote Access.......................DONE
Network Power-On................DONE
ZFS-RAID configuration.........DONE
Network File Access...............DONE
Building Test Library................DONE
Media Server Setup.................DONE
Building Media Library
Bit-Torrent setup

Monday, November 25, 2013

Project: Obelisk - Phase 1

Managed to put it all together in one night, and I have been wrestling with linux software ever since so I'm just going to break the construction down in half.

 Here is the unboxed motherboard.

 And this is the CPU with stock fan (can't wait to get further with the project and watercool it all)

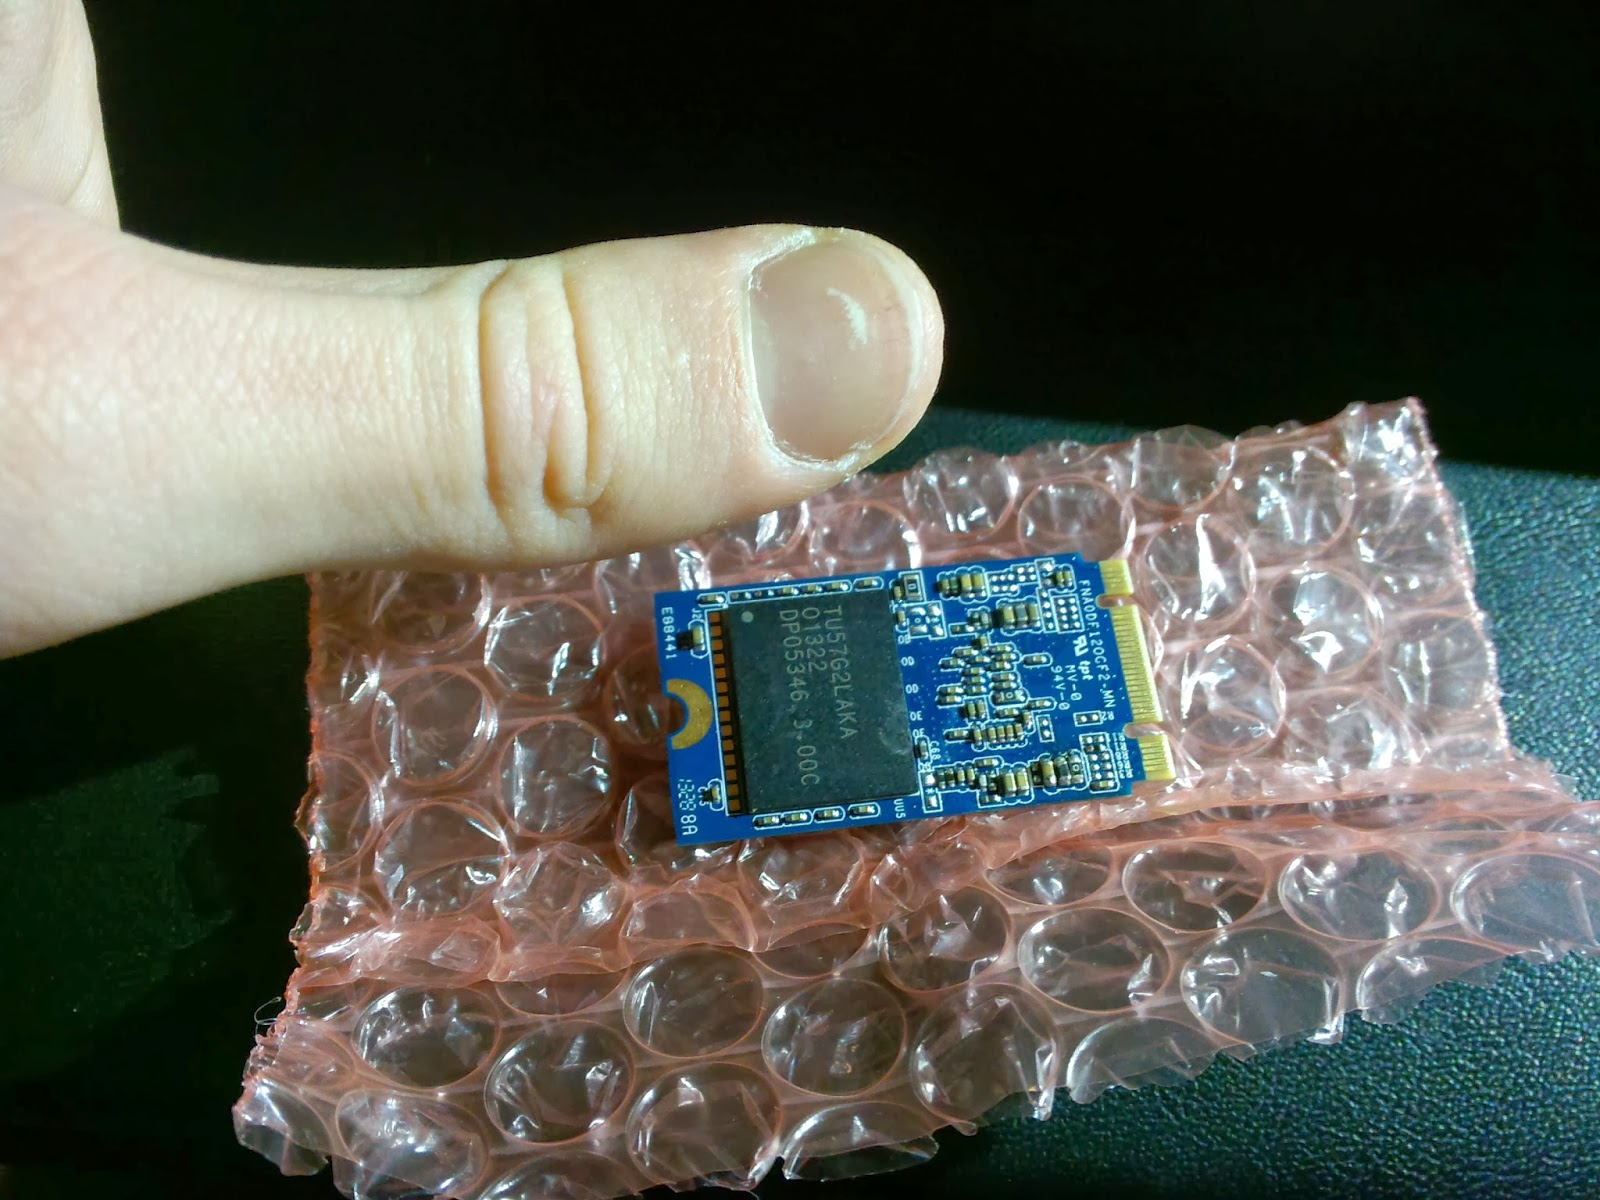
This is what's new for me with this build. Above is an mSSD card. Basically a small (32gb) SSD that plugs into an mPCIE slot. Other hard drives plug into your motherboard via SATA cables, but the speed of those are capped to 6 GB/s. Plugging into an mPCIE slot skips the cable and puts it directly onto the motherboard...

... with the help on an adapter like this. It came with the motherboard.

I like to start with putting everything on the motherboard. Makes it easy when it's already on a decent surface. Far in the upper left you can see the mPCIE adapter, with the SSD snug inside.

 Internal shot of empty case.

And here it is with everything inside it.

And this is its home (though it now sits on a board of wood rather than foam.

It all boots up fine. STILL trying to get the operating system though. FreeBSD is giving me some headaches.

Monday, November 11, 2013

New Project: Obelisk

Been a while, but at long last have a new project on the way.

Unfortunately, it will have to be worked on in phases. I plan on getting into the more serious side of modding: creation. From scratch I will be building a TV stand with a NAS built into it, viewable to the world. I already have the designs far along, and as of tonight... the parts for the NAS are on the way!

For now it shall be a modless project, built into an adequate case and air-cooled. Parts list follows:

* Fractal Design Define Mini
* ASUS E45M1-M Pro
* 6 x WD Red 3TB
* Corsair XMS3 8GB RAM
* SanDisk USB to run the OS (FreeNAS) and a discreet delivery system
* Corsair GS600 PSU

CHANGE OF PLANS!

Apparently I misunderstood the amount of SATA connectors for the E45m1-M PRO so on my hunt for a different motherboard I was inspired to go even further with my NAS project.

Now it will be a server. The combination of NAS-like file sharing, RAID backup, and the big thing: it will play video on its own. I feel that making everything done in a single box rather than hoping everything can flawlessly connect to my network (I don't trust TVs). So instead of a simple NAS, it will be itself a small computer to handle not just data storage but other server related tasks, of which there quite a few that interest me.

With that, the components are changed as such:

* E45M1-M PRO ---> MAXIMUS VI GENE
+ Intel Pentium Processor G3220
+ GTX 560 ti
* SanDisk USB ---> PCIe SSD (running the new OS: FreeBSD, another Linux platform), plugs into a special PCIe slot on the new motherboard which the industry believes will be the new standard for SSDs (SATA will be limited to 6 gb/s for a long time, apparently).


Not only will this all make the computer more powerful and capable, but when I eventually get to making the TV stand, I will be able to watercool all of the components (couldn't watercool the GPU/CPU combo of previous mobo) and thus open it up to overclocking and more server capabilities.

Saturday, February 23, 2013

Mini-Mod project

A different kind of "case mod".
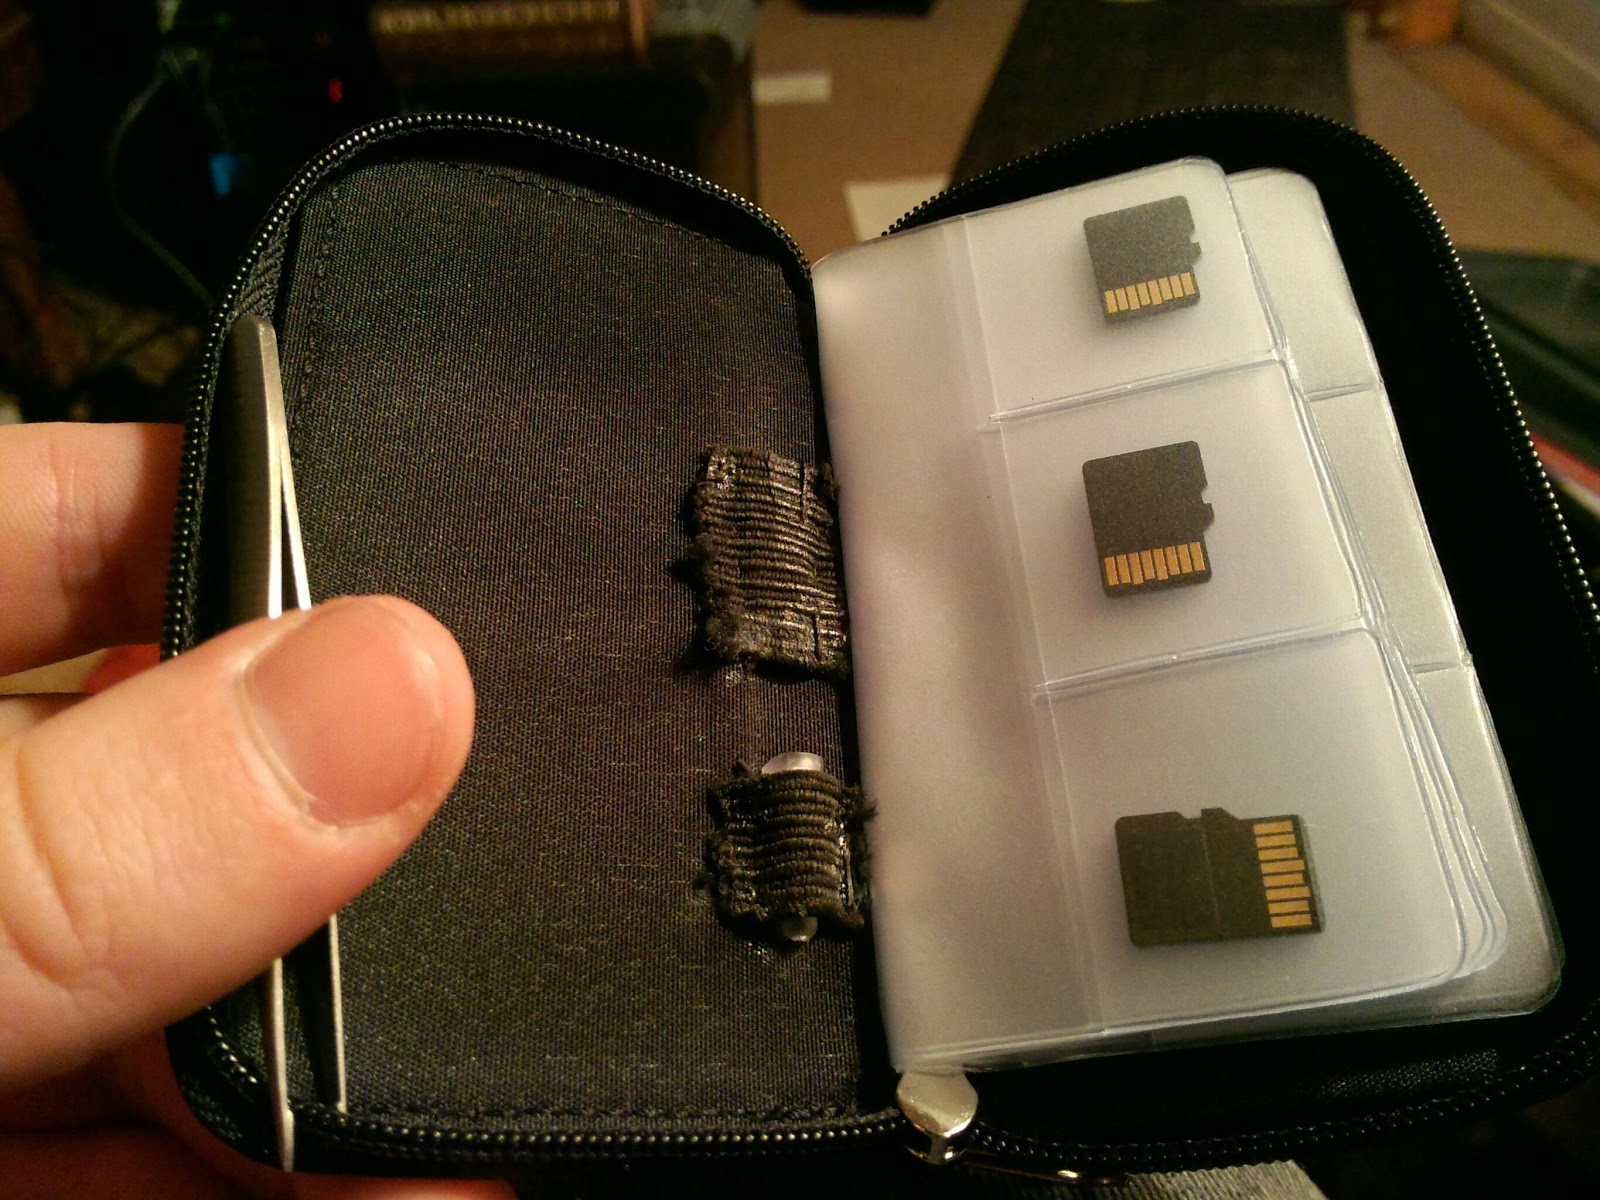
Got into SD cards recently, after upgrading from an iPad to an ASUS Transformer. Having an SD slot is kind of awesome so I decided to get a case to carry my little mobile library. Only problem is that the case was made for standard sized SD cards while I'm looking to make a MicroSD collection. So it would make sense that it is just as easy to put a smaller chip into a slod made for a bigger chip, right?
Yes, that would be right. However, it is a pain to get them back out without shaking the hell out of it. So I got the idea to make a pocket for a pair of tweezers.
The project worked, and while it may a little silly it served as needle/thread practice, if anything. I will probably keep with this until I can find another case with a similar capacity but made for microSD cards.


EDIT:

Yeah, something like this:


One for a mobile media library, the other for backups, miscellaneous file storage, and the microSD-->SD adapters.


Saturday, January 19, 2013

Modding: Fill Port + Air Escape Port - Part 1

So a few months ago I added the spigot as an easy way to drain the water loop. Naturally, I figured out how to now fill it easily, sparing me from having to disconnect the DVD drive and pull it out of the case whenever I need to do so.

Also, I have learned that in adding a fill port, one doesn't need a reservoir. So when in the future I feel like putting other stuff in my bays (already have some ideas... mahaha), I now have that option. Though, of course I'll have to buy another pump and put that in somewhere but that will be a job for then.

Here are the parts.


A pair of barbs, elbows (the space I'm working with is pretty tight. Hopefully the elbows won't prove to be a pain to fill with), ports, a handful of clamps, and tubing (this time: orange).

Additionally, I ordered a square foot of Boltaron, which is a thermoplastic (malleable when heated, and hard when cooled). Though I won't be needing to bend any of it, it's just what was the most available to me.


Above is the top of the space I'm working with. Here the top of the case is off, revealing the LEDs that are the hard drive and power-on lights (another future modding project: replace these white ones with red to match the rest of the case).

My plan is to cut a piece of the plastic to fit that rectangular hole there, and then insert a pair of nuts and bolts to secure it in place.

Here is the finished cut with the nuts and bolts in place:


And here it is in position:


And with the top of the case back on to make sure it fits:


Not half-bad.

I won't be finishing this for a while as with any instance of changing the waterloop I will have to go through another 24-hour leak test, and I don't want to be deprived of my machine for that long at the moment.

In the future, though, I plan on putting two tube-sized holes there and plunking in the ports. One shall be for the actually filling of water, and the second will be for air escape.


Additionally with this modding project, I'll be slapping in some new barbs in the actual loop within the computer to cut back on some tube length and put less strain on it in general. I have a few harsh bends that I want to get rid of with these new 45 degree angle, compression fit barbs:


The one on the left is apparently a rebel. He will have to go somewhere special.


Tuesday, August 28, 2012

Modding: Spigot

So I left DC earlier last week. One of the glaring problems I had with that was emptying my watercooling loop. It made a total mess which took a while to clean up. So, on the train, I thought of an idea. A spigot. With a few parts I might be able to get the cleanest way possible to drain a loop!

Here's the result:

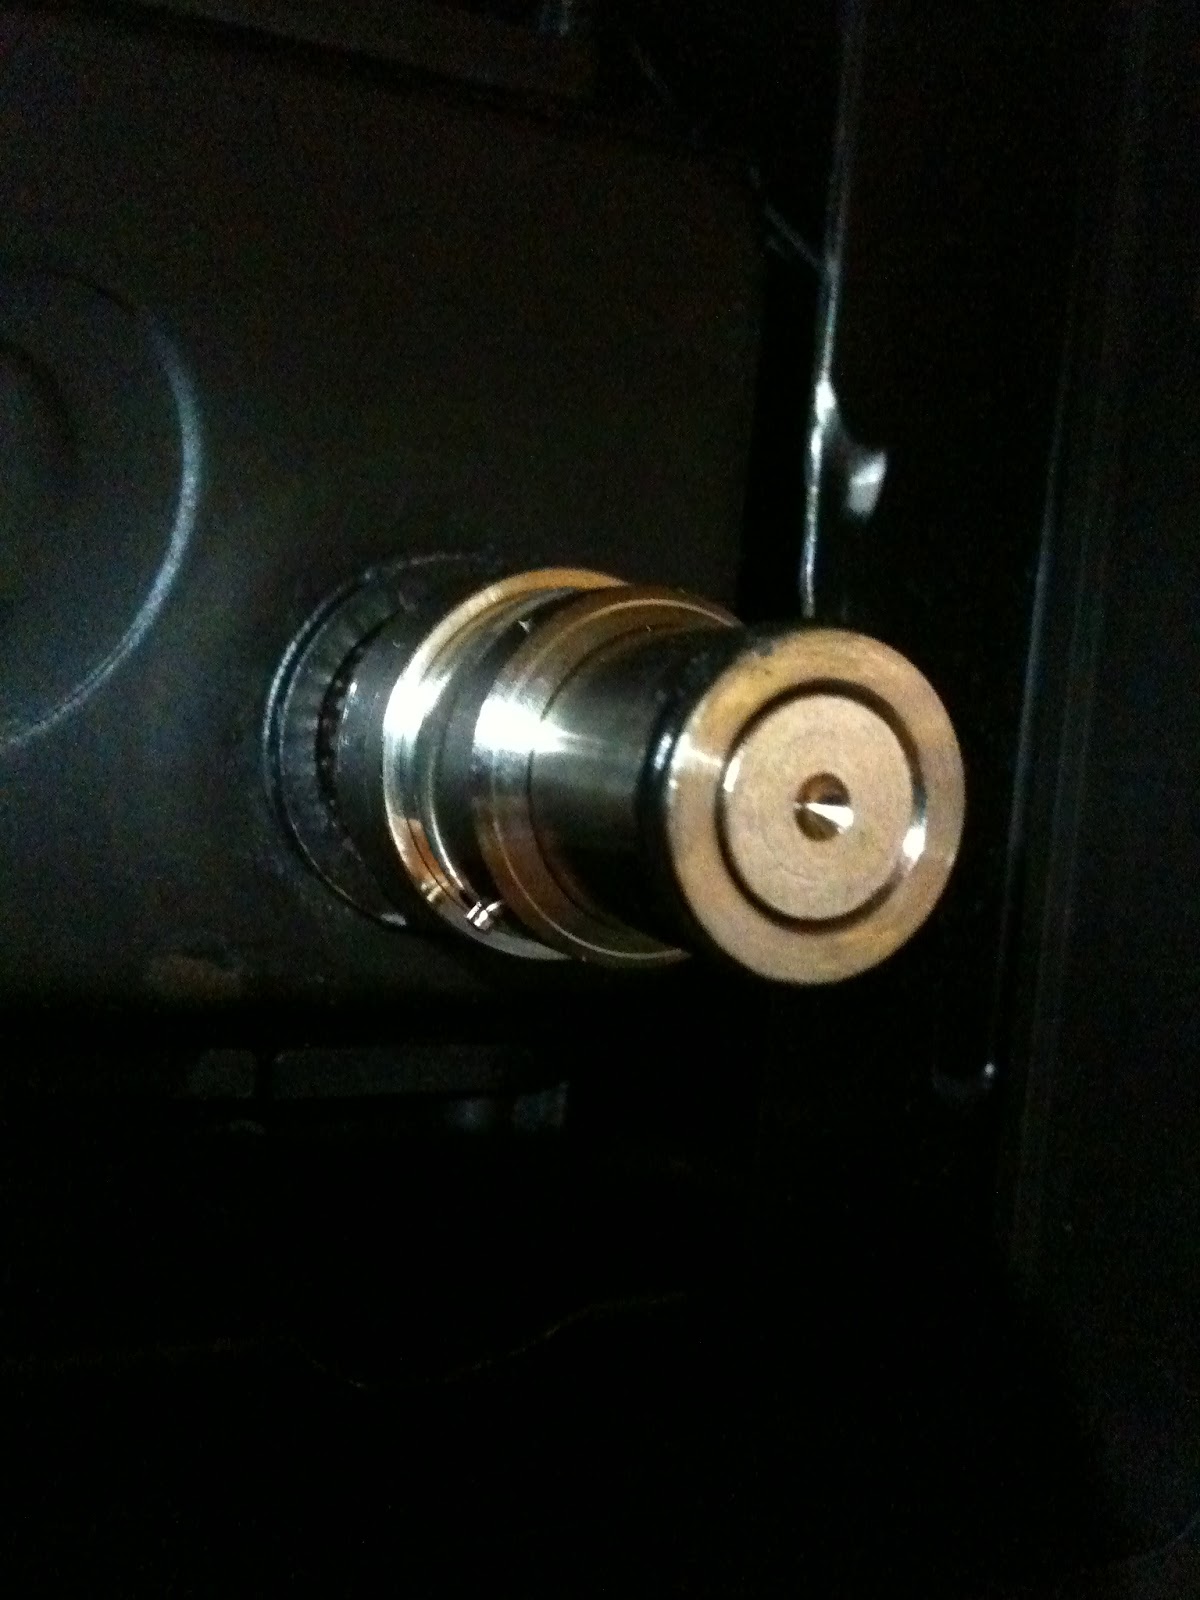
It's a simple part. It's just a miniature valve (left) and the female end of a quick-release fitting.

Here is the male end:
And a closeup:
This male end, however, is too big to put the front of my case back on, so I had to once again bust out the trusty, dusty dremel tool.

Here is the work in progress. Just a simple, rough-cut ring where the male end will stick out (hah... hah...)


And it doesn't look half bad.


And here is the spigot attached in all its glory. Now my computer can happily piss away whenever I have a need to drain its loop. After I pull out one of the 45 deg. elbow barbs inside my loop I'll be sticking it on the end of this to make it less projectile-esque. Now, there is almost no chance of getting water on any of my parts while draining it, and I don't have to undo any of the already-secure clamps. Boom.


I think the next thing I'll be putting in this thing will be a fill port through the top. That way, filling this thing up will be just as easy as draining it. All I'll have to do is take the top off and unscrew a cap.

Saturday, June 9, 2012

Build Log: Boot it up!

It verks!


The lights. I'm thinking about getting a red LED strip going up the left, and moving the LED fan to the lower right next to the other LED fan.

Bottom picture is of the reservoir in the front.


One of the coolest features I've seen in a case. Button in the front toggles these LED lights in the back. So, no more crawling around in the dark fumbling with cables.


The BIOS. No problems booting up. Now to install Windows 7, drivers, update, and then... Guild Wars 2 (I'm coming, Blair!)

Build Log: Cable Management & Glimpse Inside


That's more like it.


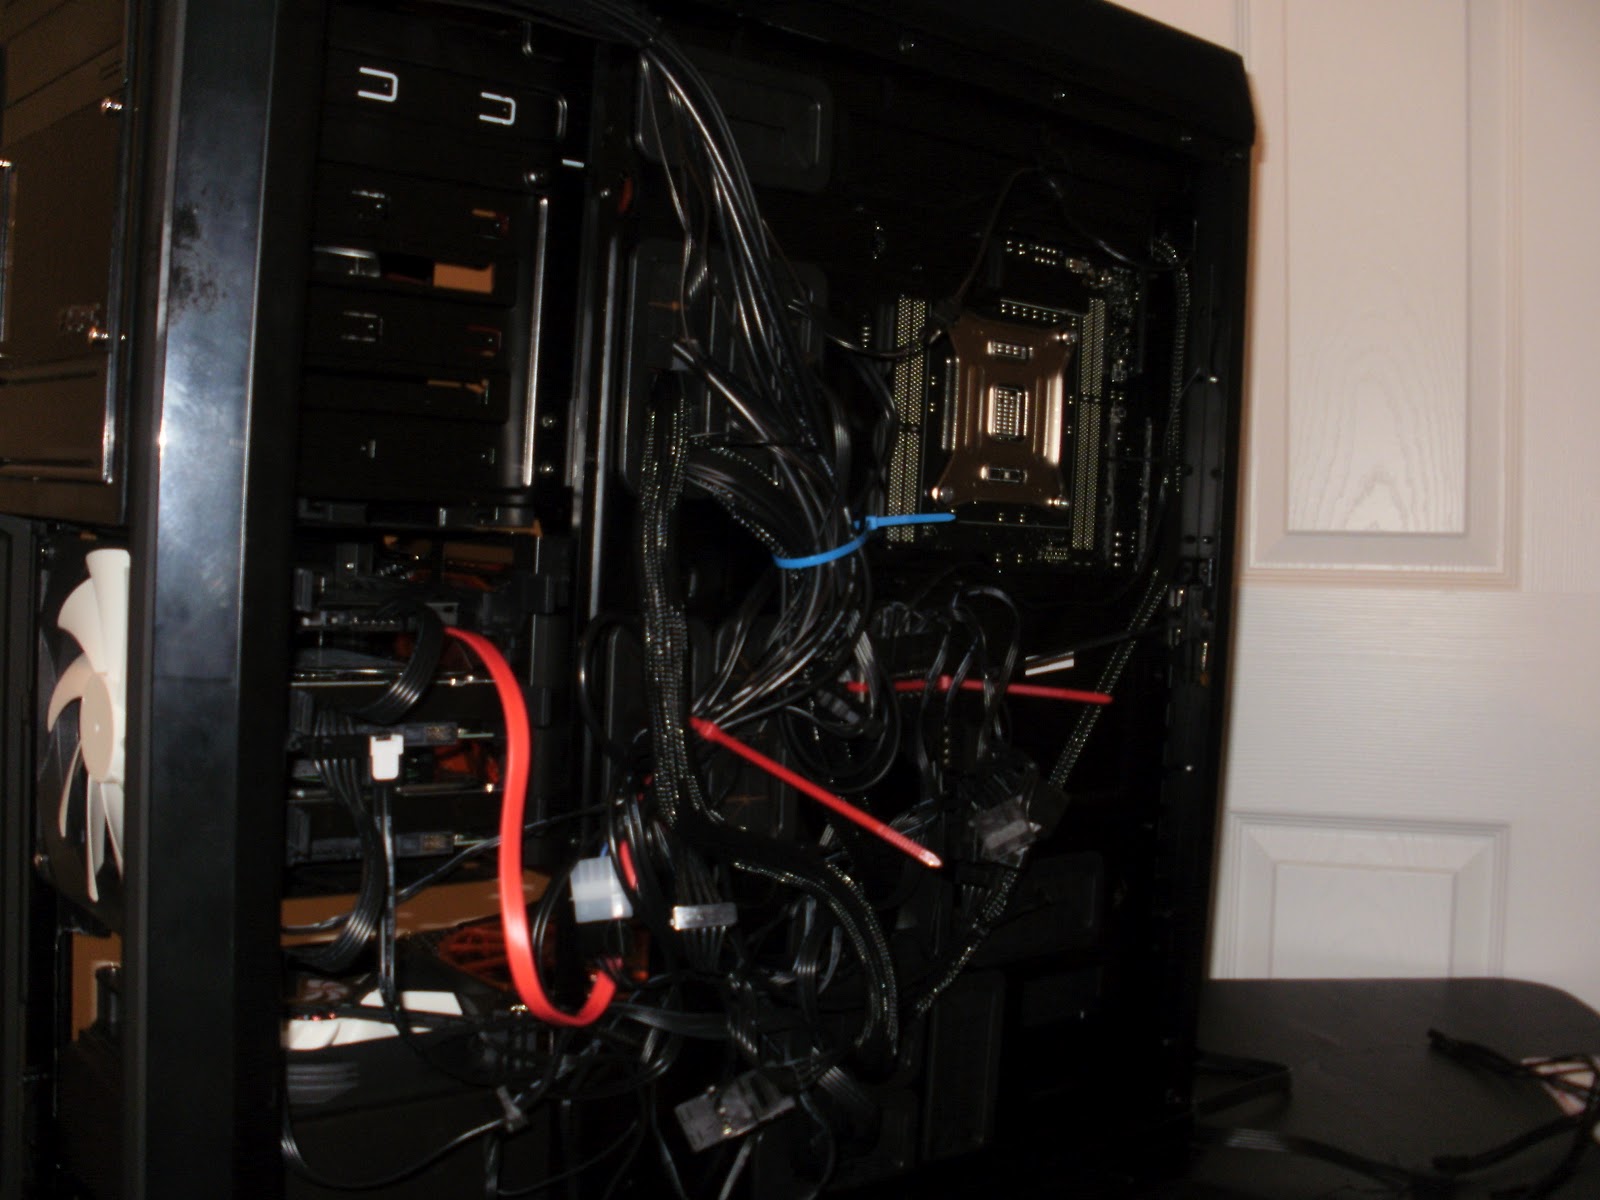
This is the cable management system behind the other side panel. There's a good inch, maybe two, of space dedicated for tying down cables and routing them through.


Front profile of the cables before putting the panel back on.


Final product on the inside before putting the other panel back on.

Time to boot 'er up.

Build Log: DVD Burner and Hard Drives

Leak test successful. No wetness.


Onto the final stages.


DVD burner. I never use, and I don't plan to use, Blu-Rays so I saved $80 by not buying a Blu-Ray drive. As one can see, the bezel goes back on so I don't have to look at the depression left by the drive in the case.


 The hard drives mounted in their trays. From left to right: 128Gb SSD, 1Tb WD Caviar Black, 2Tb Corrupted WD Caviar Green that I won't be hooking up quite yet to the mobo because I don't want it having anything to do with initial start up. Going to try and run some recovery software on it after things are settled.


Hard drives with their cables plugged in. Unfortunately, hit another snag. All of the SATA cables that Asus sent with the mobo have a right angle on one side, and straight on the other. The SSD on the top is too far in to accept an elbow side, and the motherboard itself is positioned just off to the side of the grommet that the SATA cables are passing through, and is too close to the case to accept an elbow side, either.

Since the SSD is where the OS is going, I won't be able to just save it for later. Gotta wait for MicroCenter to open and head there to pick up a double-straight ended SATA cable. Luckily, they're only a few bucks.

Be back later to finish the post.

Friday, June 8, 2012

Build Log: Watercooling - Leak Test

So tired...


Before moving onto the leak test, I figured it was smart to set up the power supply, cables and all to 1. make sure it fit with the radiator and 2. because I need the motherboard power cable.

Anyone wanna see the other side?


It's kinda scary at the moment.


But the reason I need the motherboard power cable is because the power supply will not turn on without a signal from it. Luckily there's a trick to bridge the "Power On" line with the "Ground" line, which basically turns it on.

One does this in order to get power to the pump, without sending a current through any other component, allowing the leak test to, well, leak, without any damage to the system.


This is what will be going inside my loop. A good chunk of that jug of distilled water, a couple or a few drops of biocide, and a silver kill coil. Most go with one or the other, but they're both cheap so I figured "Why not?" because the internet said nothing bad could come of it.


It looks a lot weirder in person.


Paper towels laid in place to collect any water and show me if there's a leak. Which there was, and why I am up so late (it's 4am here). I believe the screw threads in the upper screw hole of the CPU block was tight, because I tightened it and believed it was in, but it wasn't apparently. I spent three hours trying to slowly tighten it until it finally stopped this last time. I really hope it's done, and not just slowed down.


Time to get some sleep until this thing goes off. Saturday morning I hope to boot this thing up.

Thursday, June 7, 2012

Build Log: Watercooling - Part 4

It has been a long day. The thermal pads came in the mail around midday Eastern, and I just finished the work covered by this post. With that said, I reiterate: I hate thermal paste and thermal pads. It is probably the only thing I do not enjoy with this project. Still, it's done, and I hope I never have to open them up again.


This is the redone GPU, now with the backplate that arrived yesterday.


The CPU with its barbs fitted. However, I ran into a snag since then and switched out one of the elbow barbs with a normal barb.


The barbed GPU and CPU mounted in the machine.


Tubes! Red. Translucent. Blood vessels. Totally intentional. They will all be attached to the barbs with steel clamps.


Well, that was interesting. After several reroutes and bouts of frustration, I have made everything fit. No kinks, I still have access to the reservoir fill-hole, and I can still stick my RAM in. Now to fill it up and begin the 24hr leak test.