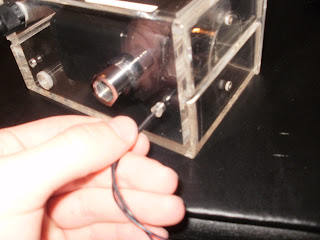
Time to crack out the Dual Bay Reservoir/Pump.
"Ta-da!"
The description on FrozenCPU said that it came with a blue LED to stick in the thinger here. But when I looked around and couldn't find an option to ship it with a red one, I got my own so I could continue with my Red Inside, Blue Outside theme. ("Inside" being a metaphor for the workings of the machine (the tower) and "Outside" meaning the stuff I actually touch (speedpad, keyboard (unfortunately the mouse, as awesome as it is, isn't lit))).
Anyways, the LED here needs to be glued in. Luckily my sister has a gun for that and was nice enough to let me dig through her camping equipment (all of it) to find it like some cruel game of "Dig for the Treasure".
Bam. Lights are glued in.
This is what it looks like mounted. Unfortunately I don't have the option to push it further in so I can put the bezels back on, and cover it up, but that isn't a big deal, since I don't mind it like this. I think I'm going to try and find some screw replacements that give a brass or bronze look. I think that would be kinda cool over the steel.
Now all that's left with the watercooling is the tubing and the 24 hour leak test. I'll be doing that tomorrow (hopefully) if the extra thermal pads come in the mail, since I did the GPU waterblock somewhat sloppily. They said that there was "ample" material but I guess they didn't expect a total noob to get a hold of their equipment.


No comments:
Post a Comment