Saturday, June 9, 2012

Build Log: Boot it up!

It verks!


The lights. I'm thinking about getting a red LED strip going up the left, and moving the LED fan to the lower right next to the other LED fan.

Bottom picture is of the reservoir in the front.


One of the coolest features I've seen in a case. Button in the front toggles these LED lights in the back. So, no more crawling around in the dark fumbling with cables.


The BIOS. No problems booting up. Now to install Windows 7, drivers, update, and then... Guild Wars 2 (I'm coming, Blair!)

Build Log: Cable Management & Glimpse Inside


That's more like it.


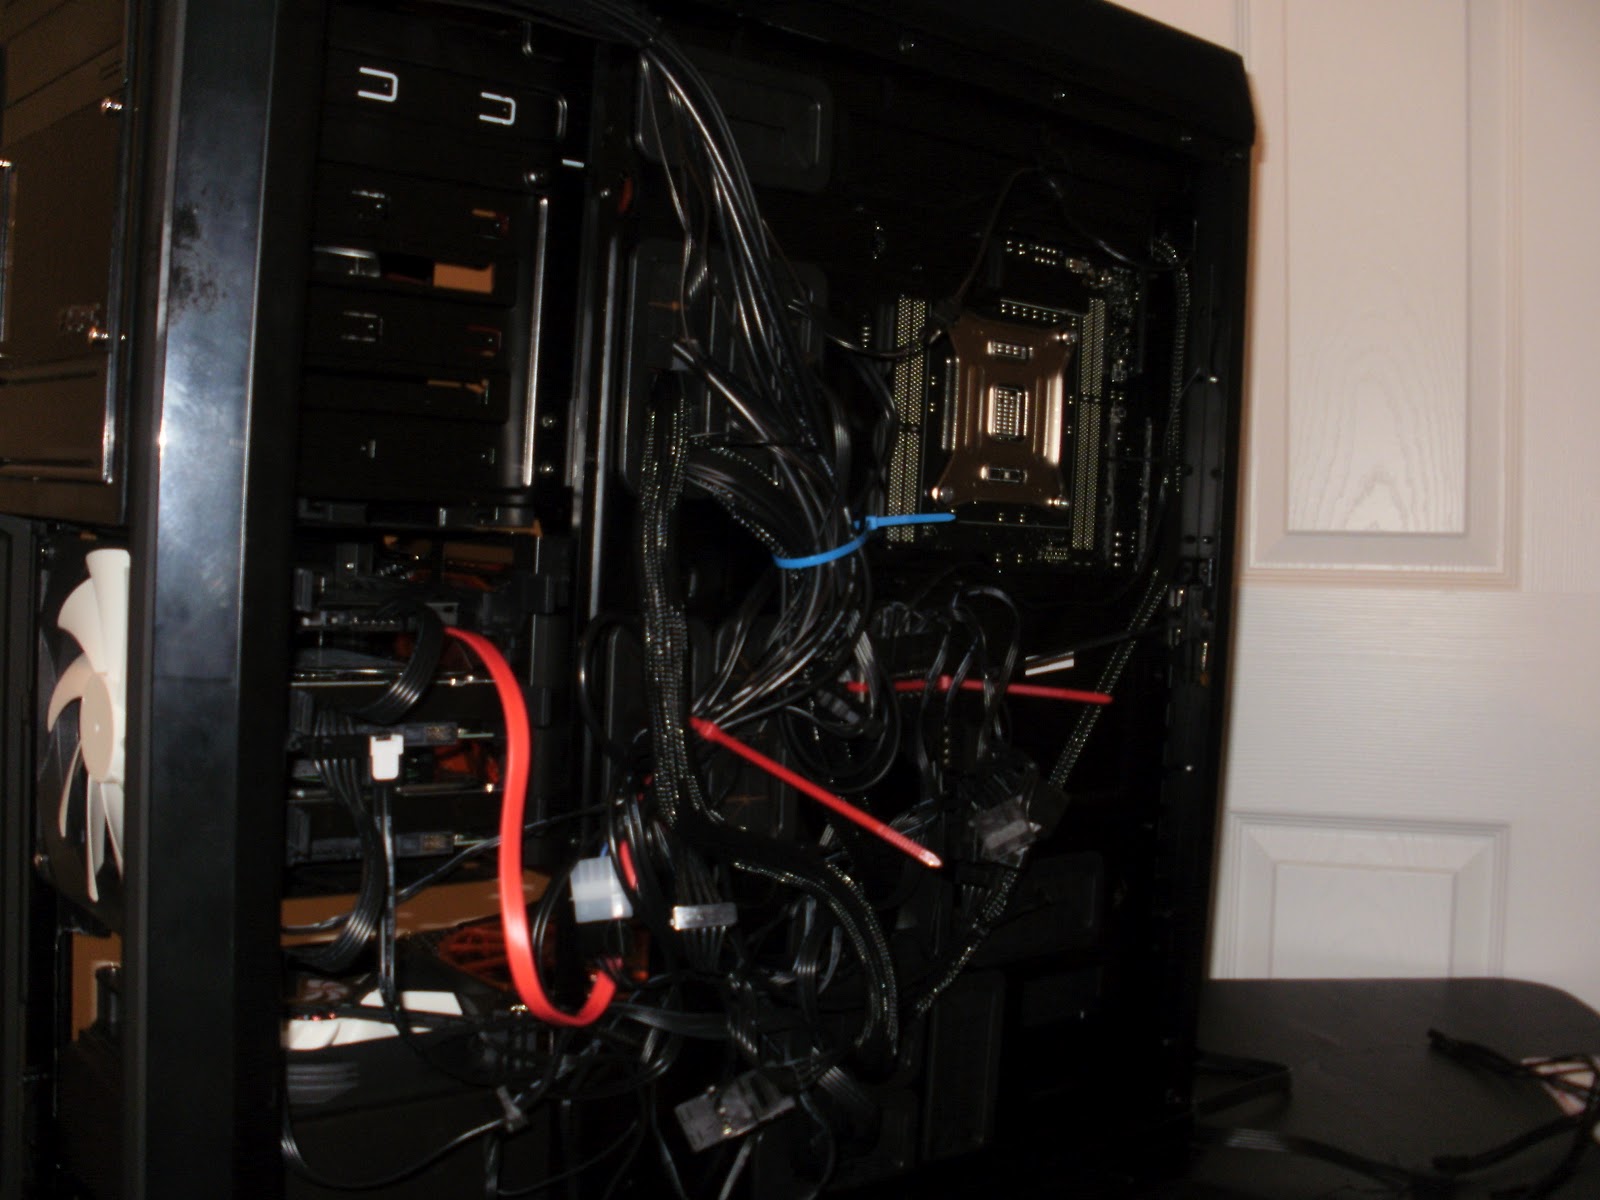
This is the cable management system behind the other side panel. There's a good inch, maybe two, of space dedicated for tying down cables and routing them through.


Front profile of the cables before putting the panel back on.


Final product on the inside before putting the other panel back on.

Time to boot 'er up.

Build Log: DVD Burner and Hard Drives

Leak test successful. No wetness.


Onto the final stages.


DVD burner. I never use, and I don't plan to use, Blu-Rays so I saved $80 by not buying a Blu-Ray drive. As one can see, the bezel goes back on so I don't have to look at the depression left by the drive in the case.


 The hard drives mounted in their trays. From left to right: 128Gb SSD, 1Tb WD Caviar Black, 2Tb Corrupted WD Caviar Green that I won't be hooking up quite yet to the mobo because I don't want it having anything to do with initial start up. Going to try and run some recovery software on it after things are settled.


Hard drives with their cables plugged in. Unfortunately, hit another snag. All of the SATA cables that Asus sent with the mobo have a right angle on one side, and straight on the other. The SSD on the top is too far in to accept an elbow side, and the motherboard itself is positioned just off to the side of the grommet that the SATA cables are passing through, and is too close to the case to accept an elbow side, either.

Since the SSD is where the OS is going, I won't be able to just save it for later. Gotta wait for MicroCenter to open and head there to pick up a double-straight ended SATA cable. Luckily, they're only a few bucks.

Be back later to finish the post.

Friday, June 8, 2012

Build Log: Watercooling - Leak Test

So tired...


Before moving onto the leak test, I figured it was smart to set up the power supply, cables and all to 1. make sure it fit with the radiator and 2. because I need the motherboard power cable.

Anyone wanna see the other side?


It's kinda scary at the moment.


But the reason I need the motherboard power cable is because the power supply will not turn on without a signal from it. Luckily there's a trick to bridge the "Power On" line with the "Ground" line, which basically turns it on.

One does this in order to get power to the pump, without sending a current through any other component, allowing the leak test to, well, leak, without any damage to the system.


This is what will be going inside my loop. A good chunk of that jug of distilled water, a couple or a few drops of biocide, and a silver kill coil. Most go with one or the other, but they're both cheap so I figured "Why not?" because the internet said nothing bad could come of it.


It looks a lot weirder in person.


Paper towels laid in place to collect any water and show me if there's a leak. Which there was, and why I am up so late (it's 4am here). I believe the screw threads in the upper screw hole of the CPU block was tight, because I tightened it and believed it was in, but it wasn't apparently. I spent three hours trying to slowly tighten it until it finally stopped this last time. I really hope it's done, and not just slowed down.


Time to get some sleep until this thing goes off. Saturday morning I hope to boot this thing up.

Thursday, June 7, 2012

Build Log: Watercooling - Part 4

It has been a long day. The thermal pads came in the mail around midday Eastern, and I just finished the work covered by this post. With that said, I reiterate: I hate thermal paste and thermal pads. It is probably the only thing I do not enjoy with this project. Still, it's done, and I hope I never have to open them up again.


This is the redone GPU, now with the backplate that arrived yesterday.


The CPU with its barbs fitted. However, I ran into a snag since then and switched out one of the elbow barbs with a normal barb.


The barbed GPU and CPU mounted in the machine.


Tubes! Red. Translucent. Blood vessels. Totally intentional. They will all be attached to the barbs with steel clamps.


Well, that was interesting. After several reroutes and bouts of frustration, I have made everything fit. No kinks, I still have access to the reservoir fill-hole, and I can still stick my RAM in. Now to fill it up and begin the 24hr leak test.

Wednesday, June 6, 2012

Build Log: Watercooling - Part 3

Time to crack out the Dual Bay Reservoir/Pump.


"Ta-da!"


The description on FrozenCPU said that it came with a blue LED to stick in the thinger here. But when I looked around and couldn't find an option to ship it with a red one, I got my own so I could continue with my Red Inside, Blue Outside theme. ("Inside" being a metaphor for the workings of the machine (the tower) and "Outside" meaning the stuff I actually touch (speedpad, keyboard (unfortunately the mouse, as awesome as it is, isn't lit))).

Anyways, the LED here needs to be glued in. Luckily my sister has a gun for that and was nice enough to let me dig through her camping equipment (all of it) to find it like some cruel game of "Dig for the Treasure".


Bam. Lights are glued in.


This is what it looks like mounted. Unfortunately I don't have the option to push it further in so I can put the bezels back on, and cover it up, but that isn't a big deal, since I don't mind it like this. I think I'm going to try and find some screw replacements that give a brass or bronze look. I think that would be kinda cool over the steel.

Now all that's left with the watercooling is the tubing and the 24 hour leak test. I'll be doing that tomorrow (hopefully) if the extra thermal pads come in the mail, since I did the GPU waterblock somewhat sloppily. They said that there was "ample" material but I guess they didn't expect a total noob to get a hold of their equipment.

Build Log: Watercooling - Part 2 (cont'd)

Back to fans.


Instead of drilling another hole into the case, I noticed that there is enough space for the cables to pass along the side. Here is a closeup of the fans standing up, with the cable from the left zip-tied to the casing of the one in the center.


Shit. (No. 3)
Though they put the screw holes in the top for three 140mm fans, they are JUST short of room for three. It might be that I had to improvise a bit with the radiator taking up some of the bottom screw holes, and not the case itself.

Luckily, FrozenCPU.com is a superb online retailer hosting all the fans and watercooling parts that I purchased. I called them and they said as long as the products and packaging are presentable and shelfable, they'll return them and give me store credit to purchase three 120mm fans.

I'll just take a fan off the bottom radiator and from the front to put in the top fan housing  until they come some time next week. This isn't a hindrance, I'm considering the fans done. Time to ship them off, then off to mounting the reservoir and trying my hand at the first bit of tubing.